Five illustrated pages for organizers and scoreboard operators.
01 / OPEN PLAY
Organizing Open Play
01
Sign in and create an event
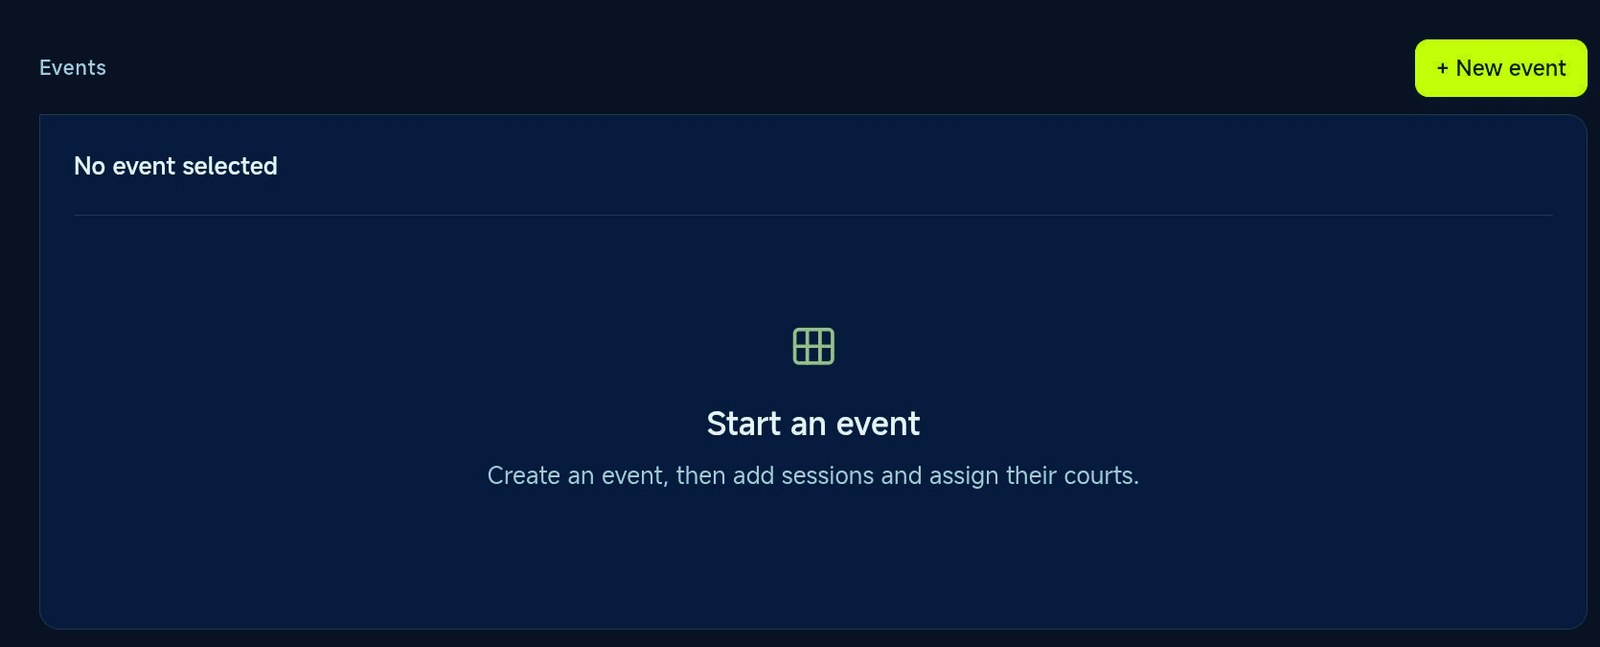
Open Matchpoint OP login and sign in. In Overview, tap + New event. Enter the event name, choose Open Play, and complete the form.
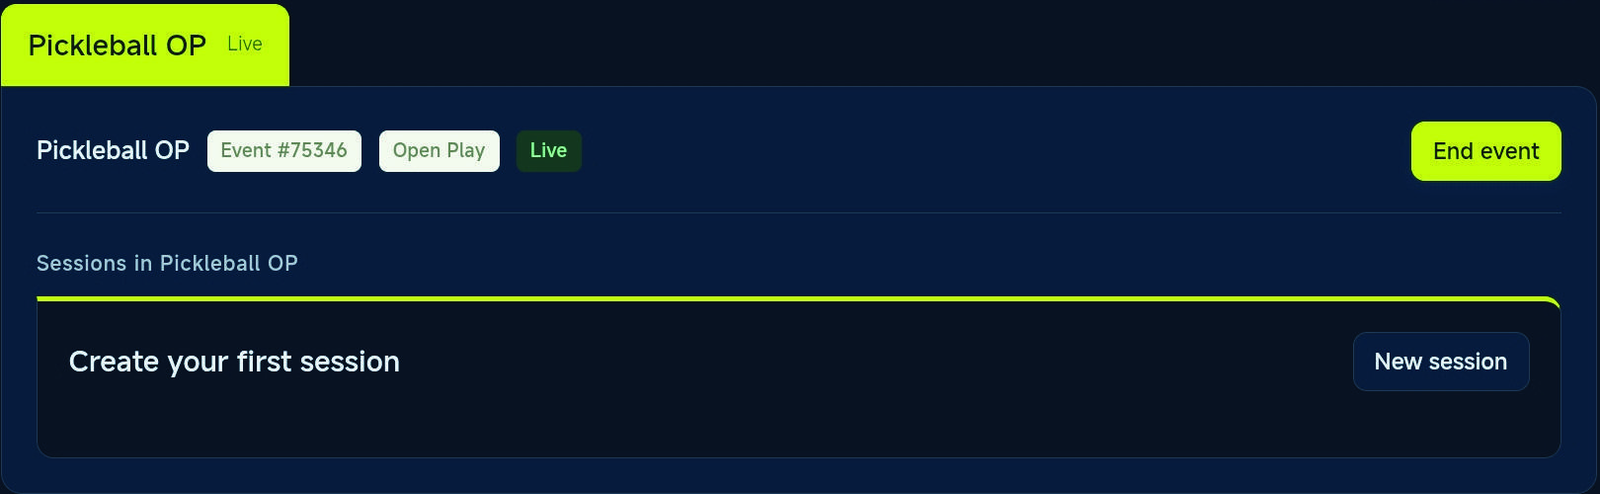
Your event appears as a tab. Select it, then tap New session to create your first group. An event contains sessions, each with its own courts and players.
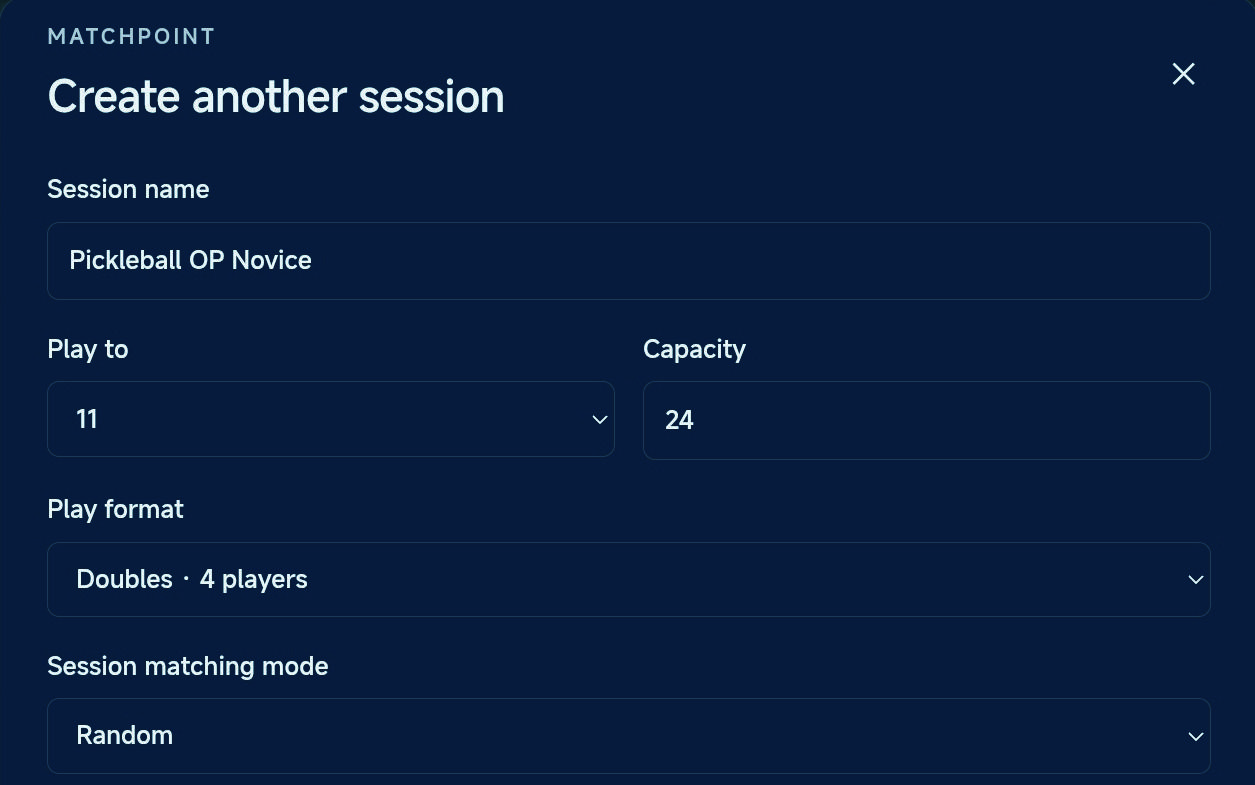
Tap New session. Enter the session name, play-to score, capacity, play format, and matching mode. Scroll down and submit the form.
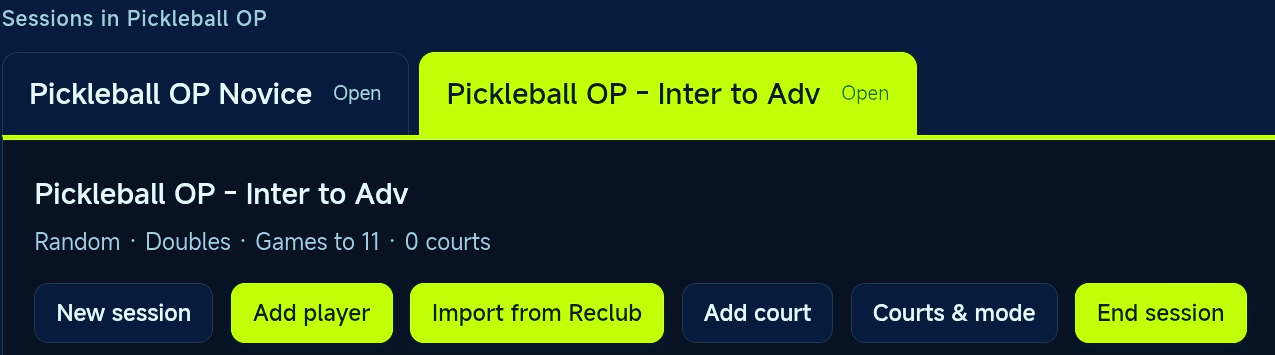
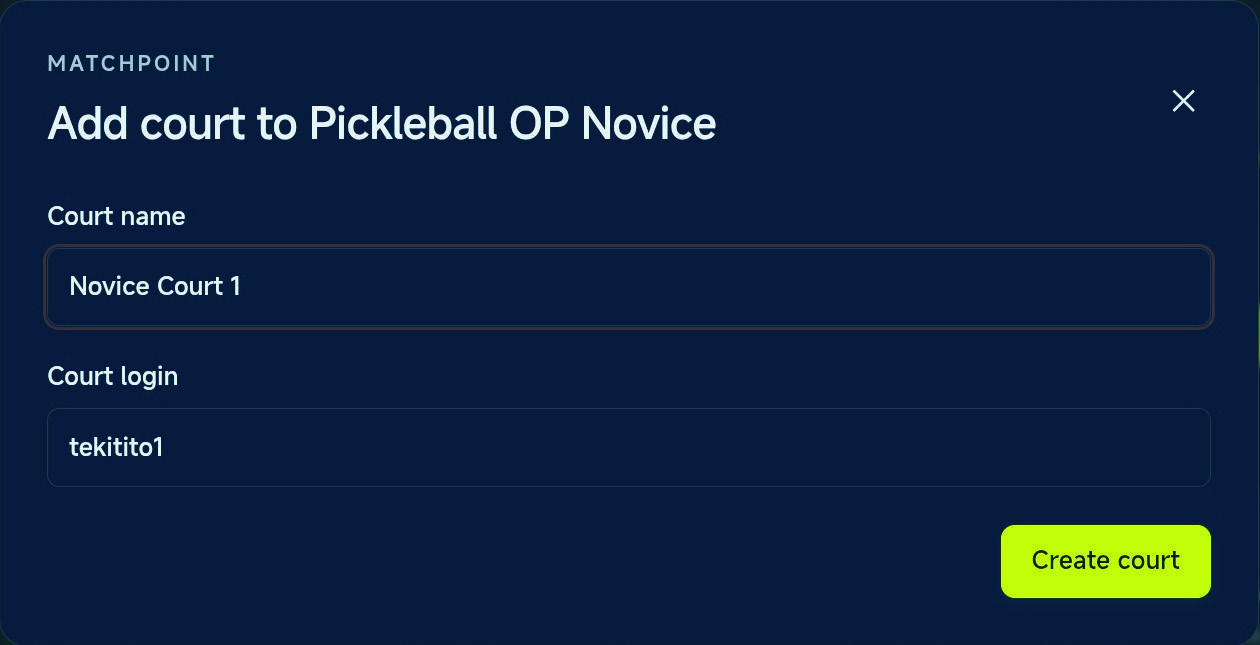
Repeat for another group, such as Novice and Intermediate to Advanced. Choose the correct session tab before adding courts or players; each session has its own courts and player queue.
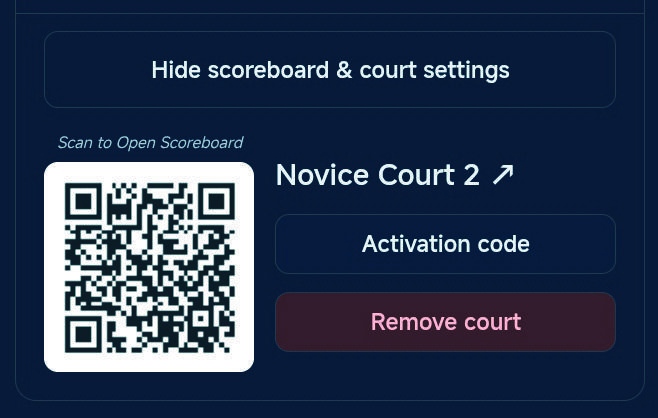
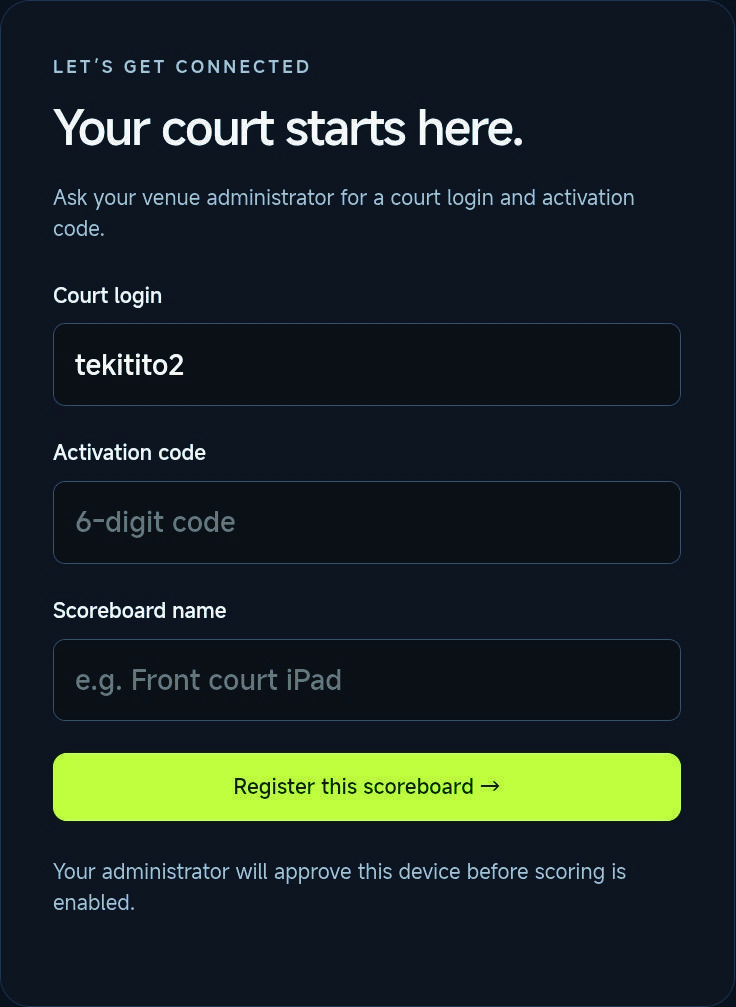
On the scoring phone or tablet, scan the court’s QR or open its link. Enter the same court login, its activation code, and a device name. Tap Register this scoreboard.
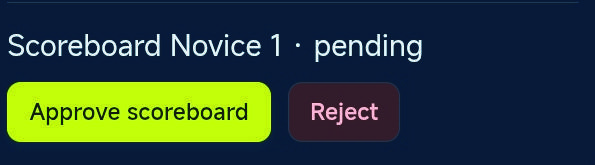
Return to court settings on the admin screen. Find the pending device, tap Approve scoreboard, then confirm. A linked, approved device is required before scoring games.
Check players in, review Up Next, then tap Start game on an available court. Use the selected session’s player queue and matching mode.
Keep the approved scoreboard online so it receives the match.
07
Score each rally
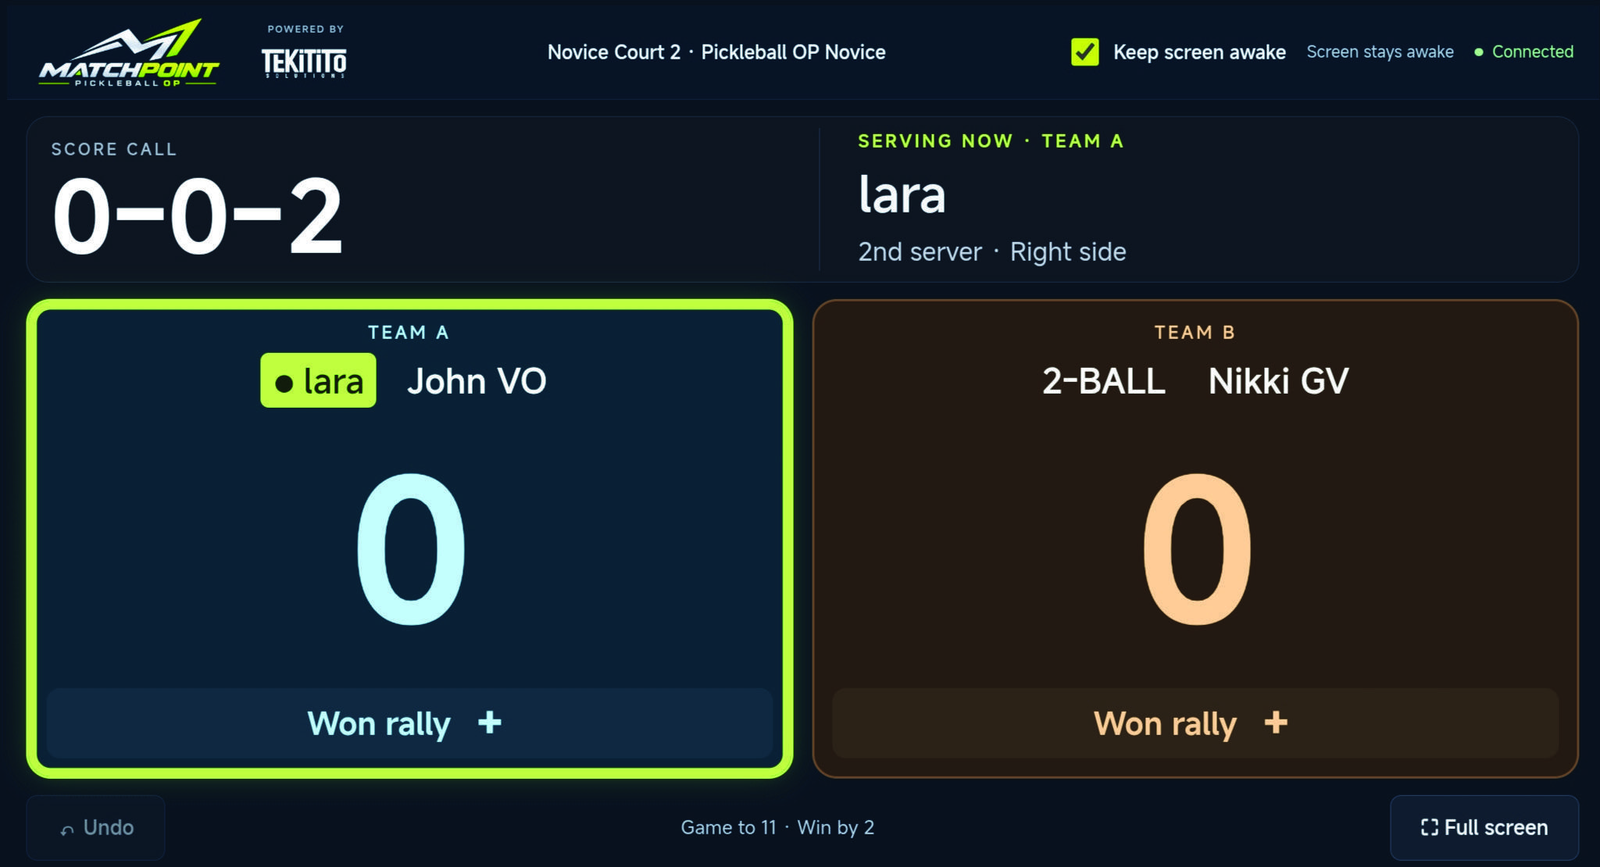
On the scoreboard, tap Won rally + for the team that won the rally. Use Undo to correct the last action.
Winning a rally does not always add a point: the system applies serving and side-out rules. The highlighted team and server name show who serves next.
Use landscape orientation. Enable Keep screen awake where supported and use Full screen.
The scoreboard shows the score call, highlighted serving team, serving player, Won rally +, Undo, Full screen, and Keep screen awake. View full size (new tab)
08
Share the live view and player queue
Select the session first. Both public views are read-only and require no login.
Public live event view
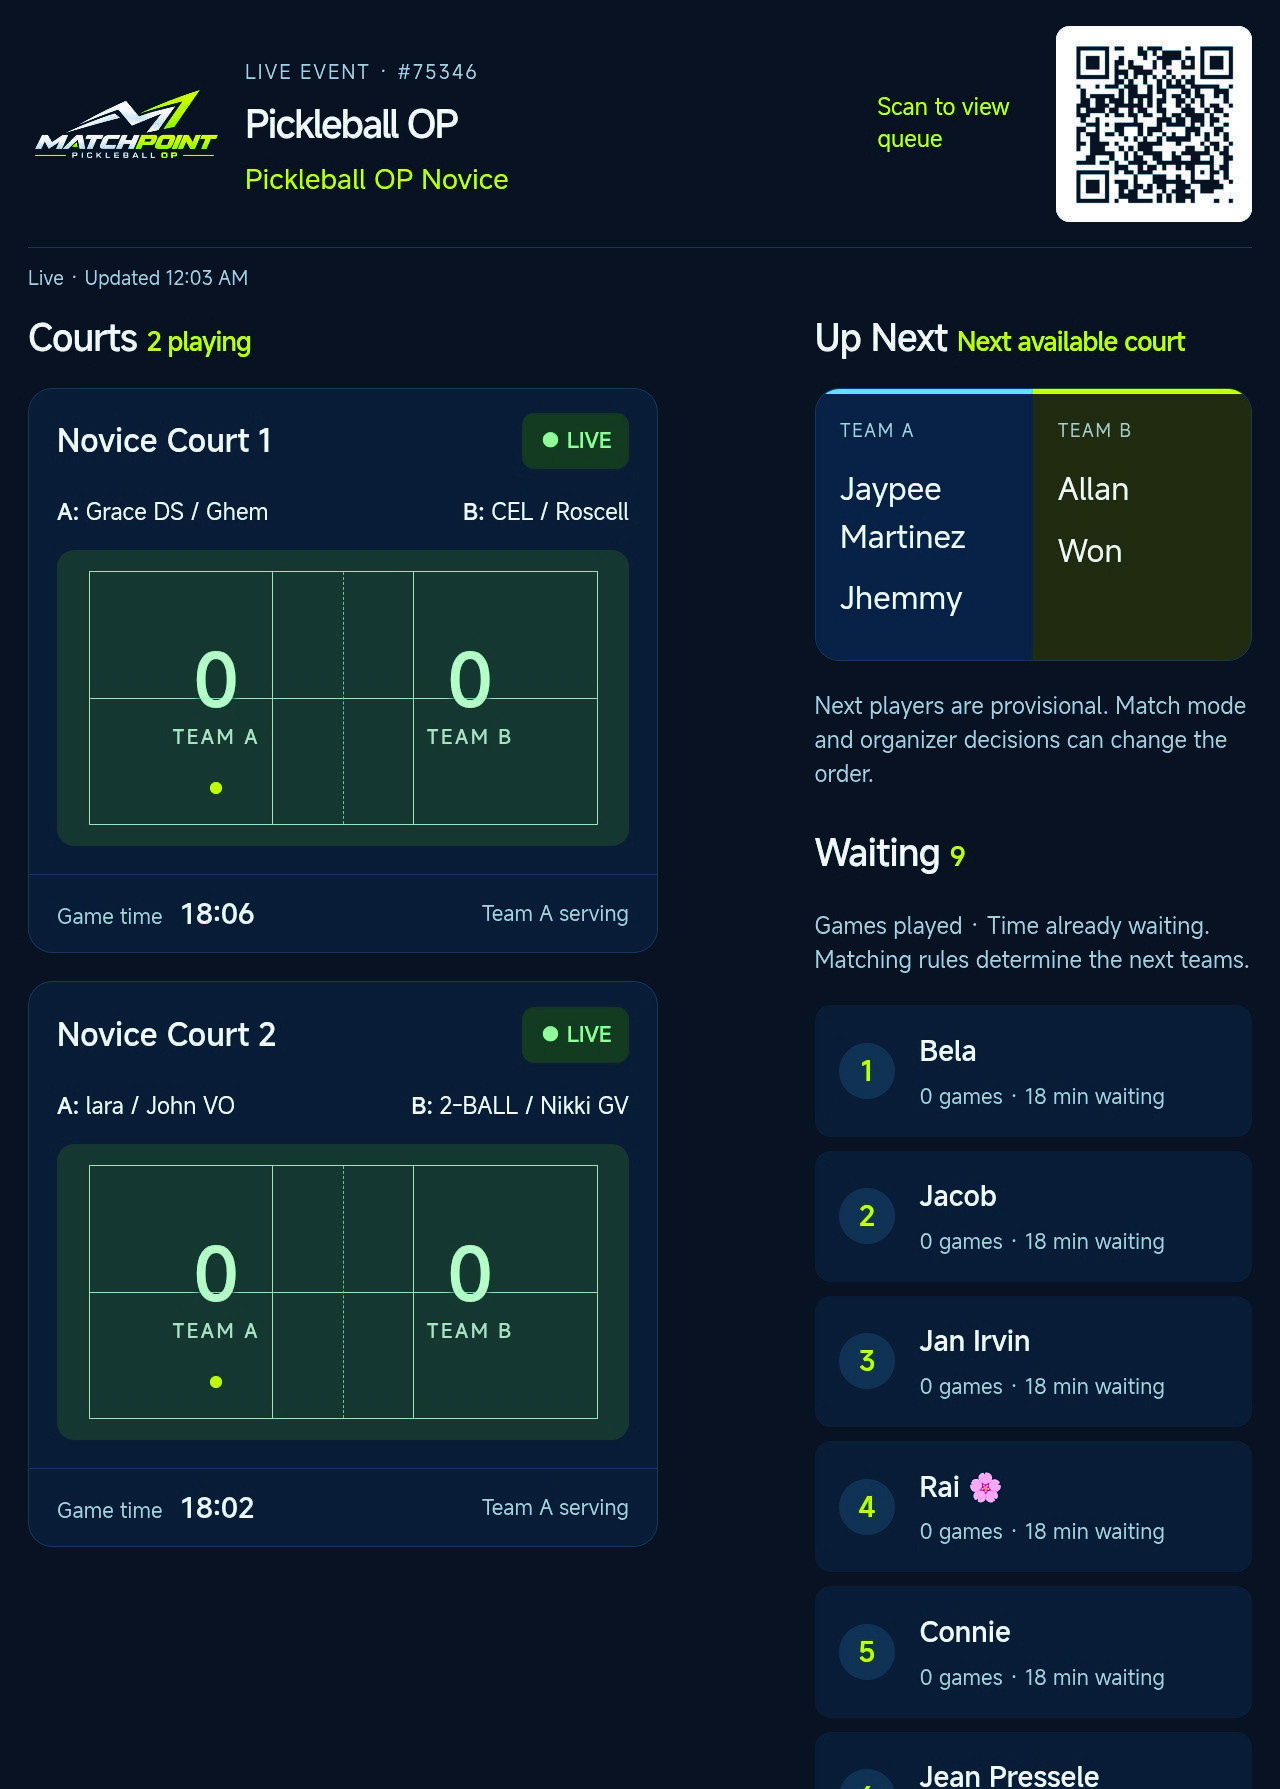
Tap Admin public dashboard, then Open Admin public dashboard. Display it on a shared screen to show courts, live scores, Up Next, and the waiting list.
The public dashboard shows the selected session’s courts, scores, Up Next, and waiting list. View full size (new tab)
Player queue QR
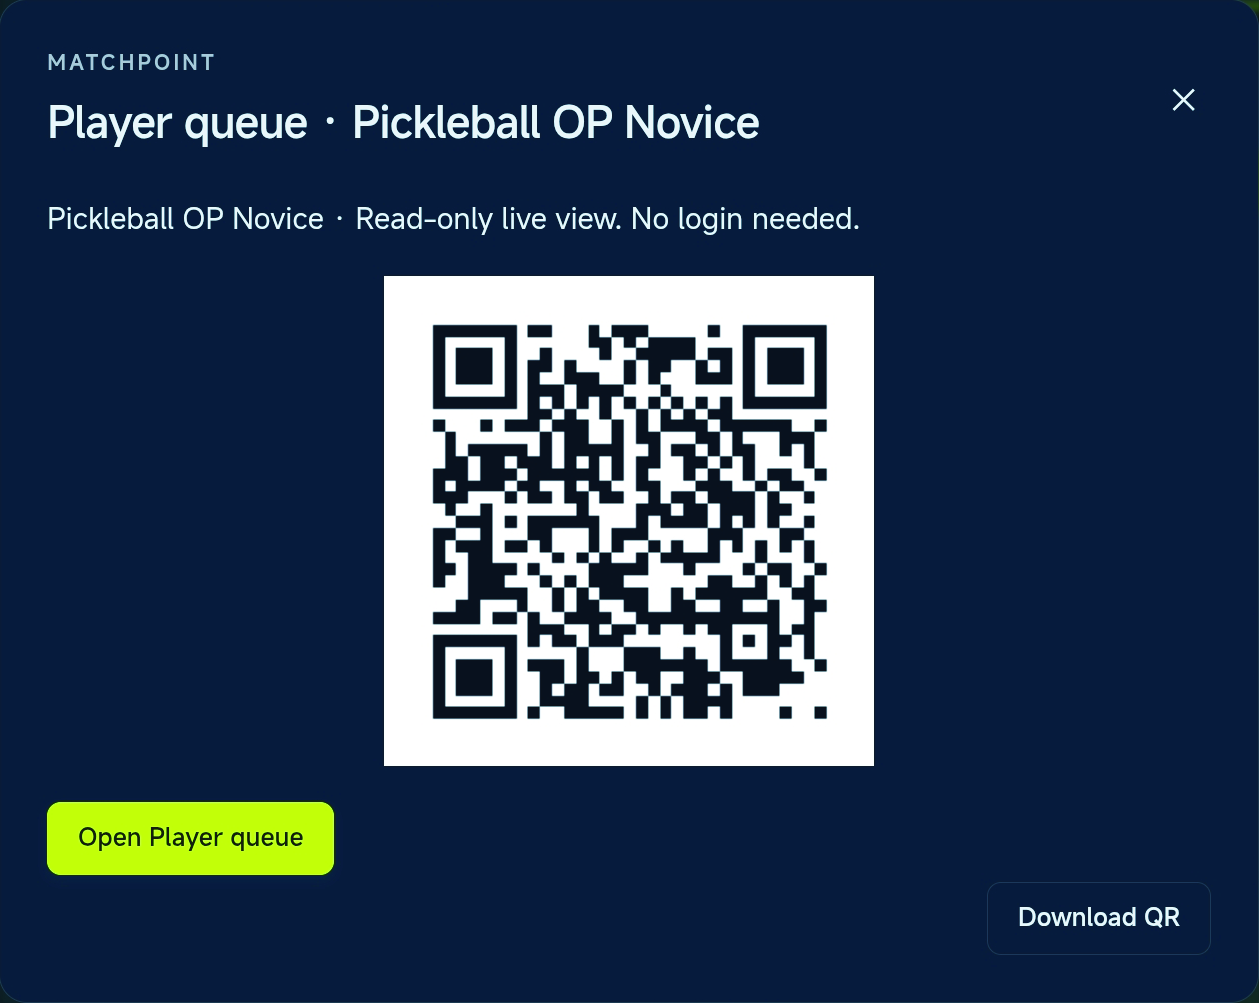
Tap Player queue QR. Choose Download QR to print or share it. Players scan it on their phones to view the queue.
Use the right QR: the player queue QR opens a public waiting-list view; the court QR connects a scoring device. Screenshots are examples—share your own session’s QR.
09
Finish the event
Review and confirm results in admin. End sessions when finished, then end the event to archive its results.
02 / COMPETITION
Additional guidance. The v1.2 Quick Guide covers Open Play; competition instructions below are from the existing website guide.
Organizing a competition
01
Create a competition event
Create an event and select Competition.
Choose:
Elimination: losing teams exit and winners advance.
Round Robin: every team meets every other team once.
Double Round Robin: every team meets every other team twice.
02
Create sessions and add courts
Competition sessions inherit the event’s competition mode.
There is no separate Open Play matching-mode selection.
Choose Singles or Doubles and assign courts.
03
Enter players and teams
Open Competition schedule.
Enter the competition players.
For doubles, arrange fixed teams.
04
Generate the schedule
Set the start time, expected match duration, and minimum rest time.
Generate the match schedule across the selected courts.
Match durations are estimates.
Round Robin formats provide equal scheduled game counts when the full schedule is completed.
Elimination does not guarantee equal game counts.
05
Print and run the competition
Print the schedule or save it as a PDF.
Use it to coordinate teams, courts, and match times.
This is a planning schedule: it does not automatically publish live matches or advance live brackets.
Organizers must coordinate match creation and results.
QUICK ANSWERS
Frequently asked questions
Why can’t I publish a match?
Check that your court has a linked, approved scoreboard, that devices are online, and that enough eligible players are available in the session. Result-based modes require enough players in the appropriate groups.
Why is a locked pair waiting?
Both partners must be available. The pair takes the later partner’s queue position, and both partners must stay together.
Can I manually choose the players?
Yes. Open Create match → Match selection → Manual override. Choose available players from the same session. Unlock partners first if you need to split them.
Can I use my phone as a scoreboard?
Yes. Open its assigned court URL, activate the device, and get organizer approval. Use landscape orientation and keep an internet connection. No app-store download is needed.
Why do I need to rotate my scoreboard device?
Landscape orientation gives both teams and the scoring controls room on screen. Phones use a compact layout.
What is the difference between the court QR and the player queue QR?
The court QR connects that court’s scoring device. Select a session before opening Player queue QR, then share that session’s read-only queue with players. No login is needed.
Does a competition session need its own matching mode?
No. Competition sessions inherit the event’s competition mode. Open Play matching modes apply to Open Play sessions.